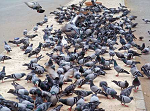
 Urban bird populations have increased markedly in recent years, adding to the already significant problem of feral pigeons in and around public and retail buildings, houses and offices, warehouses and factories, bridges and monuments, sports andentertainment facilities, and transport hubs. Although starling populations which caused serious problems in the past have declined markedly over the last 30 years, they can still be problematic in some situations. House sparrows and other small birds can also cause particular difficulties for food manufacturers, processors and retailers.
Birds and their nests, feathers and droppings are known to be reservoirs for a range of fungal and bacterial diseases, allergens, protozoan parasites, insects and mites which are harmful to humans. In many cases, however, image and physical safety are the most important issues facing building andamenity managers. Bird fouling looks and smells unpleasant, and frequently deters people from using areas in the vicinity of nesting and perching sites. Droppings further present a serious slip hazard on pavements and walkways; and one that rapidly builds up to troublesome levels again following clearance. Public safety is a serious concern with gulls. In coastal towns, in particular, they have been known to attack people in the street for food. And they can become very aggressive towards both humans and domestic pets,especially when they have young in the nest. Acidic bird droppings can also seriously damage both stone and metal work. Equally, the accumulation of nesting materials and droppings can cause water damage by blocking gutters and downspouts.The financial implications of loss of business, damage to buildings and health and safety prosecution risk can be considerable and is often the trigger for birdmanagement operations.

Good Behavioural Understanding
Physically protecting buildings and structures from perching, roosting and nesting will only be successful if under taken with a good understanding of the natural behaviour of the particular birds causing the problem.

Apart from its humaneness, the big advantage of combating bird problems by physical proofing is its long-term sustainability. However, the fact that birds remain alive means they can seek to overcome the protection or relocate within the immediate area. It is vital to appreciate that solutions effective for one species of bird will not necessarily be appropriate for another .Larger and more robust gulls, for instance, need a fundamentally different approach to agile and more persistent pigeons, which need to be treated quite differently from smaller and more manoeuvrable sparrows. Equally, the type and extent of proofing required will depend on the level of pressure exerted by the birds in question which, in turn, depends on precisely how they are using the locations.
At Garrards we have a Certified Bird Course which will train and allow you to be certified to do Bird Netting jobs which add value to your business.
Basic Netting Explained.
|
|
The following information offers basic procedures for the installation of the bird netting. It is not all inclusive, instead it covers the steps that most netting installation require. There are many different ways to effectively install bird netting, but the goal should always be the same; no gaps, openings, wrinkles or excessive sag in the finished netting installation.
|
Cut the net to size (When ordering GARRARDS can have the nets pre-cut to size).
Before you cut, double check your dimensions. Make sure that you have allowed extra netting for perimeter fastening and overlap seams (6" min. for both). Always leave the piece of netting bigger than what you will actually need.
Joining Nets Together at Overlap Seams
Overlap the netting pieces a minimum of 6". Use the stainless steel Net Rings to seal the seam. Install net rings every 6" on both sides of the seam for its full length. Follow the spacing guidelines as per your Bird Course Training.
Perimeter Fastening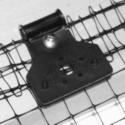 Use Net Rings to fasten the net to the perimeter cables. Multi-Purpose clips can be used with the cables if desired.
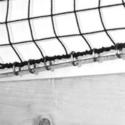
Interior Support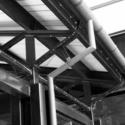 Overhead Supports: Locate and utilize overhead pipes, beams, trusses, etc to help support the interior netting areas (away from the perimeter). Fasten to the overhead support items as often as possible. We recommend using the Net Ties, Poly Cord or the Net Savers for support hardware.
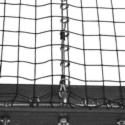
Support Cables: Used when there is minimal overhead support. Bird netting should NOT be allowed to run more than 50 feet without support cables. We recommend installing support cables every 25 feet. For K-Net use Net Rings to fasten the netting to the cable. For PollyNet, us
Fitting Around Obstructions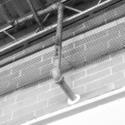 Objects hang lower than the installed netting:DO NOT cut large pieces out of the netting. To fit the netting around objects (such as lights), make simple slits or X cuts just big enough to fit the object. If the obstruction is close to an outside edge, make a straight cut from the edge to the obstruction. If it's in the middle of the installation area, cut a slit or X in the net below the object. Pass the object through the mesh and seal the netting back together above/behind it. Use seam hardware to seal up the slit or cuts around the object.
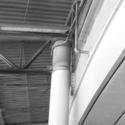 Square/Rectangular objects along the perimeter (a column). Cut a simple "T" in the net that is the same width and depth as the column (see drawing). Use the excess netting of the "T" to fasten to the perimeter hardware (perimeter hardware must follow the shape and direction of the outside edges).
Round objects along or close to the perimeter (large pipe). Cut an "X" big enough to fit the diameter, then make a slit from the "X" to the closest edge of the netting. Use the excess netting of the "X" to fasten to the perimeter hardware (perimeter hardware must follow the shape and direction of the outside edges).

